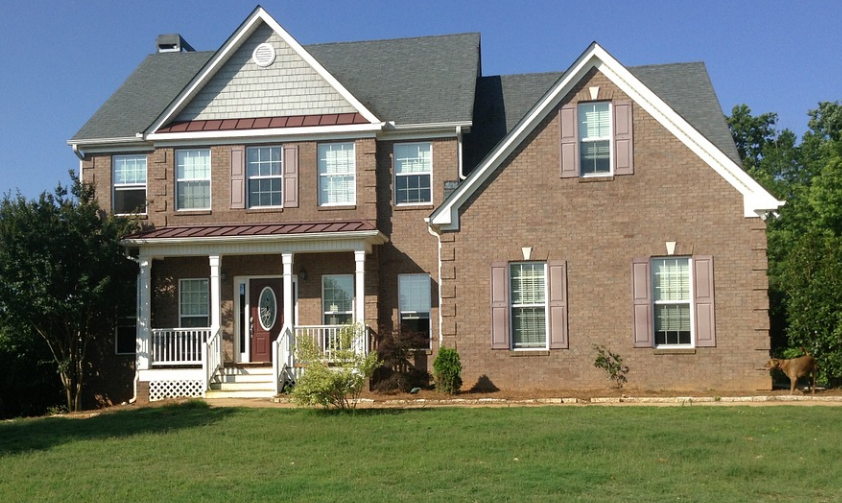
In many cases, there is a place where some safety railing is needed to prevent vehicles from going off the road in bad weather or maybe just a driving error. With a little sweat and a fantastic amount of work through these Driveway Ideas, you can build a guardrail almost without money. Electric and telephone companies exchange their poles regularly. This could be simply an upgrade of a stake to accommodate new transformers or extend some automotive traffic cables, etc.
Obtain Used Poles
 These companies have to pay to get rid of these old poles, and that’s where you come in. Talk to your local power or phone company and find out where they keep the old poles or damaged poles and tell them that you would like to get some. They will be happy to remove them in almost any case. Of course, you cannot carry regular size sticks with you, so you will need a chainsaw with some old and worn chains to lower the stakes down to six feet. Please note that I mentioned old and worn chains for your saw. Sharpen them until you cut, and be ready to get rid of them when you have finished sawing the sticks.
The power poles are usually filled with your neighbors’ hidden claws that give their signals for garage sales, but they can also be filled with screws, pins, and all kinds of metal objects. Each piece of metal becomes a chainsaw. You can or, of course, visually search these things until you reduce the hidden ones anyway; the hidden ones are the thing. Be careful when walking and always wear the right eye and ear protection.
Arrange Top Rail
You will also need the most extended pieces that can be handled to get a top rail. A top rail provides much better protection, but only simple poles close enough together can provide adequate safety. Put the centers of each report together with the bar and railing parts that are now in your home. Remember to measure the initial advantage of this first post instead of the centerline. The middle positions are quantified down to the centerline, and the first post is the significant advantage of the first post.
Dig Holes
At this point, you need to determine if you want to dig holes for the posts or if you want to use someone to do so, using a jumbo drill. Determine the starting position, along with all the holes. Once you have reached the ideal place, make sure that the poles are at least two meters above the final slope. Fill in the content and tamp down the content settings as you move. Now continue with the remaining contents and make sure that everything revolves around the correct centerline and height.
Employ These Tricks
 A great trick is that if your railing is on a direct line, insert the first and last item. Place a nail in the center of these two posts and show a line between them. Now you have a quick guide to the two points and the center lines of each of the two intermediate poles without having to measure each one. If you have a water source nearby, a good soaking of the charge will speed up the sedimentation process. Clean the area around your stakes by removing all excess stones and blocks and throwing away some grass seeds to brighten the room. It is much easier to do this before the top rail gets into position. Raking under the fence and getting on and off the rail wears out very quickly.
Mark the Rails
Once ready for the top rail, place the full fence on the ground and the poles, with one end hanging a few inches above the first place. Mark the ideal tail on both sides of most of your items. Once marked, you will need to carefully release a two-inch slot machine to get the top of the pole once the rail is in place along with the items. Place the cut top rail on the bars. Two spikes on each stake should be enough.


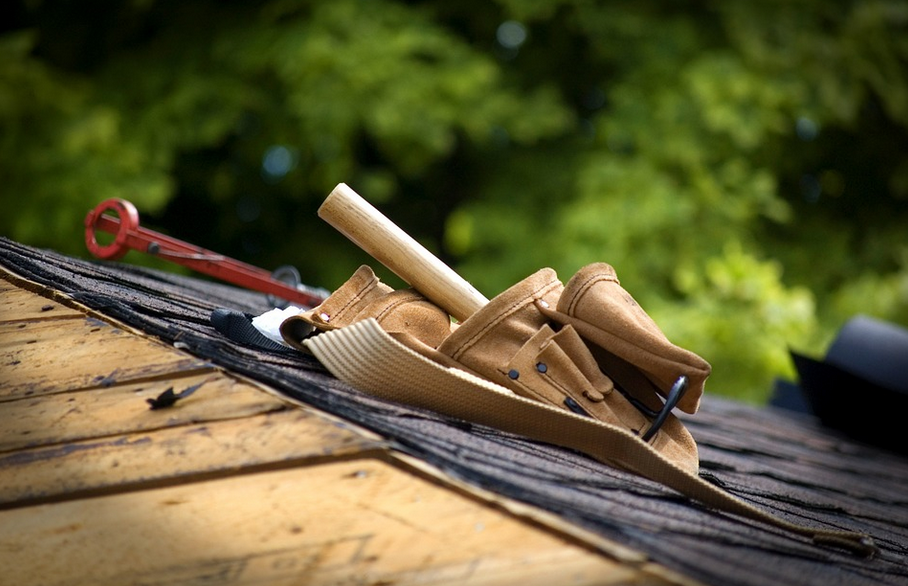
 Before hiring a contractor, it’s essential to make sure they are licensed and insured. It will protect you if something goes wrong with the project. A licensed contractor will also have more experience and better handle your roofing project.
 A good roofing contractor should provide a warranty on their work. It will ensure that you are covered in the event of any issues with the new roof. It’s essential to ask the contractor about their warranty policy before hiring them. Hence, you know what to expect if something goes wrong. It’s also important to ask about their warranty policy, so you know what will happen if there are any issues after completing the project. Some contractors offer a lifetime guarantee on materials used in your roofing project. In contrast, others may provide a one-year warranty. So, be selective on it.
 The best way to choose a roofing contractor is by meeting with them in person. It will give you a chance to ask them any questions you have and feel for their personality. It’s also essential to check their references and see any before and after pictures of previous projects. By meeting with the contractor, you can be sure that you are making the right decision for your home.