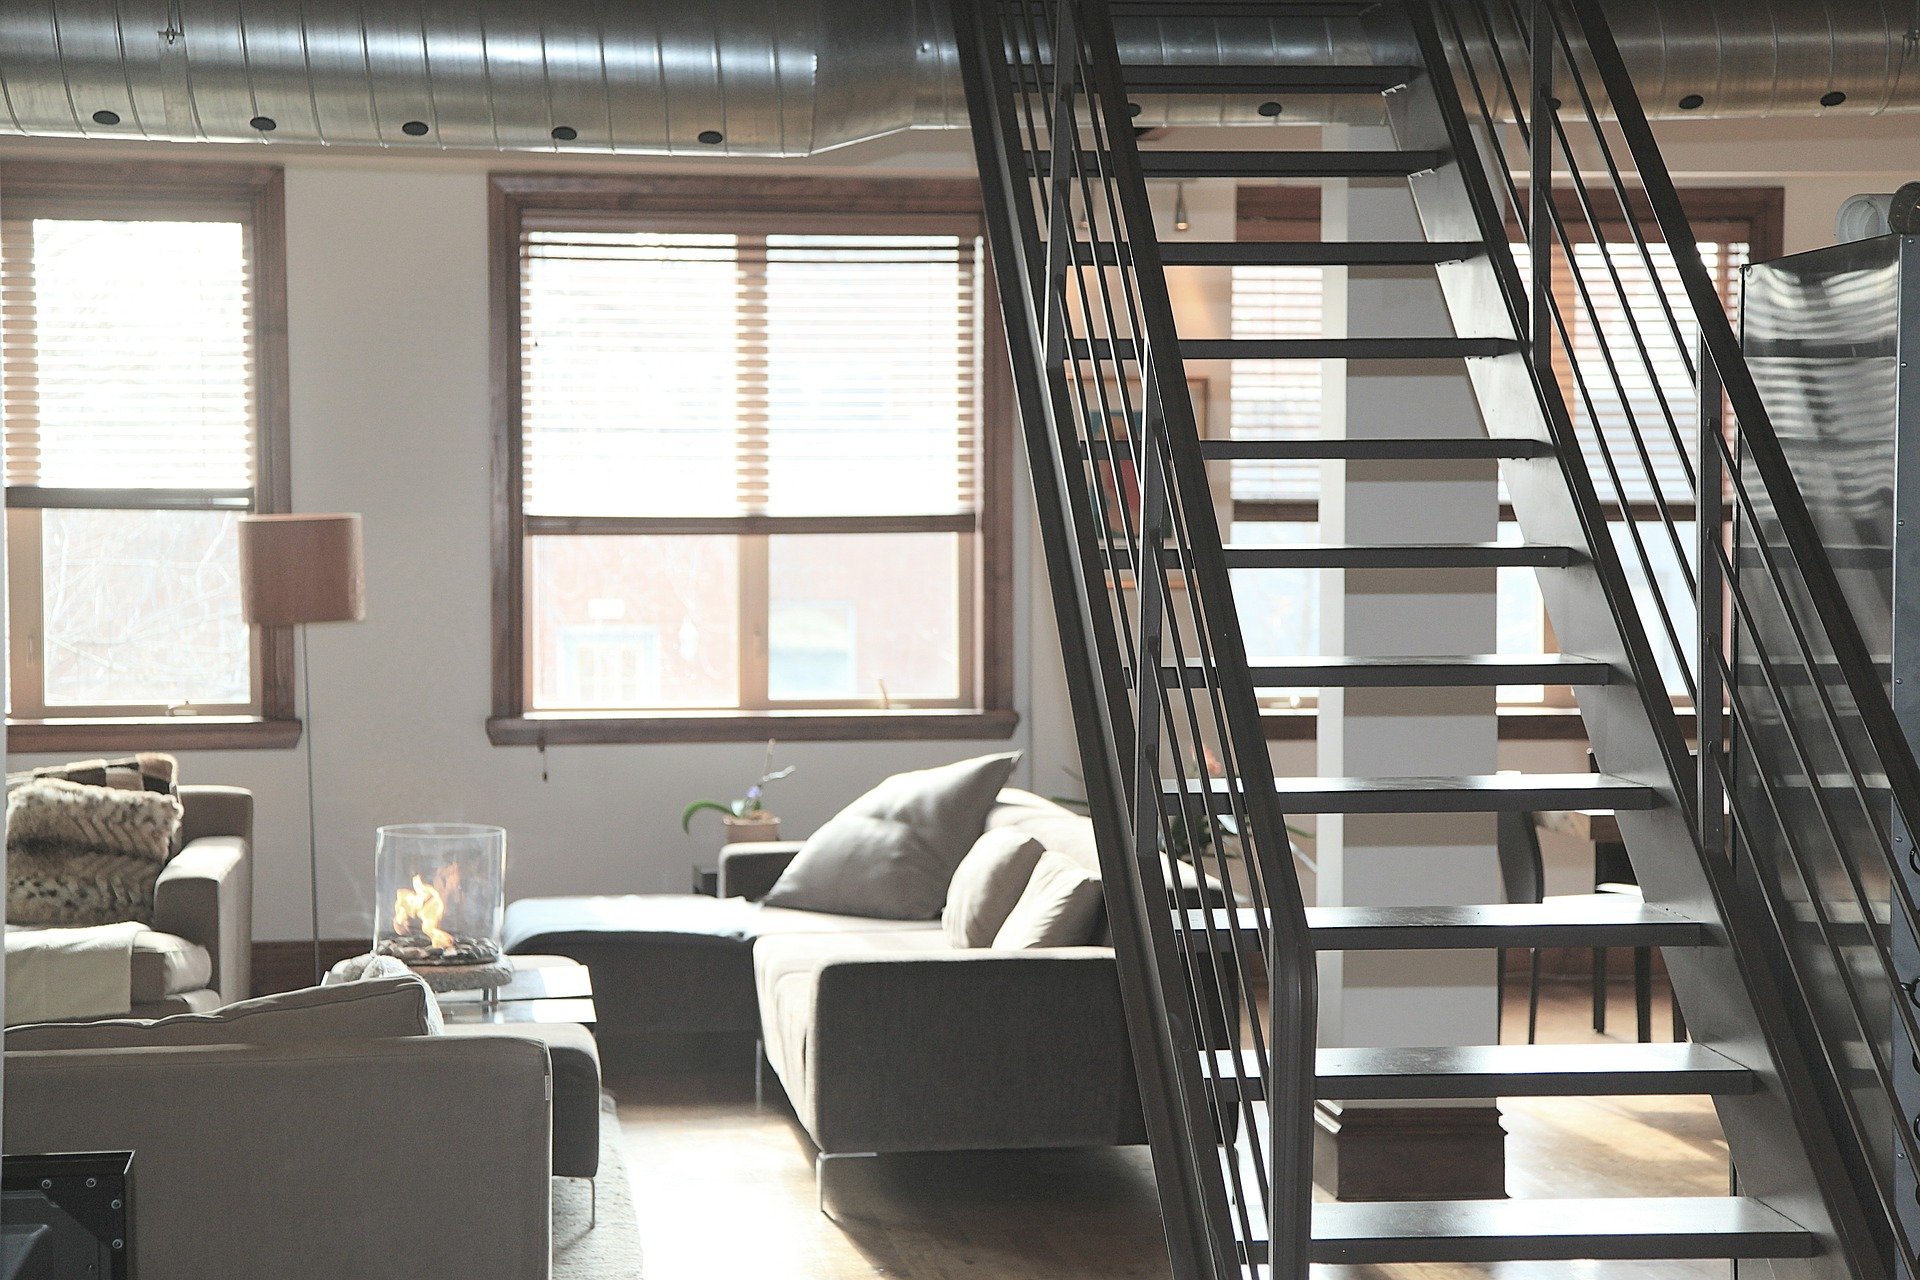
If you are looking for an apartment, it includes a lot more than having the money ready and accessible. Knowing precisely what you would like and understanding how to recognize the attributes of the great home will have the ability to help you instantly identify and protect the level of your fantasies. By checking Prestige Windsor Park, you can learn steps on finding a perfect affordable apartment. Below are tips to help you find the right apartment.
Inspect the Apartment
Once you look at three or four apartments, they all begin to look similar, and it can be hard to remember that you have these characteristics. If you are trying to find the perfect rental unit, bring a notebook and pencil with you so that you are in one place to take notes on each one. Shop in a certain region of town, work in a certain location or value certain activities.
Keep these in mind as you look at the many components. You may find that it is not as expensive and much more convenient to live near the things you prefer and want. Also, look at the region to make sure it is a place you like and where you feel comfortable.
Open Your Mind
Limiting your choices to one or two specific styles can significantly reduce the number of options available to you. For example, if you need at least two bedrooms, don’t hesitate to look at some three-bedroom apartments. Also, be prepared to look at many different companies and options to get a feel for the apartments available. With all the amenities and options of apartments in Rockford and all the places you are given today, you are sure to find one with the perfect mix and in the ideal location. Who knows, you may never want to leave.
Know the Inclusions
In case you don’t have a washer and dryer, for example, you may decide to look for an on-site laundry facility. If you currently have these things, getting the total price of clothes included in your monthly rent will likely be nothing more than a waste of money. Video providers are just another factor to consider. The main point is to have the ones with the features you need without paying for the ones you don’t need. But keep in mind that they will increase your previous rent payment.
Buying a hot tub cover may seem simple at first, but most homeowners quickly realize that it’s a bit trickier than grabbing the first one on sale. Each cover has its perks, drawbacks, and quirks. Exploring the many types of hot tub covers can help you make sense of the options without getting lost in a pile of marketing claims. Let’s break it all down so your spa stays safe and your stress level stays low.
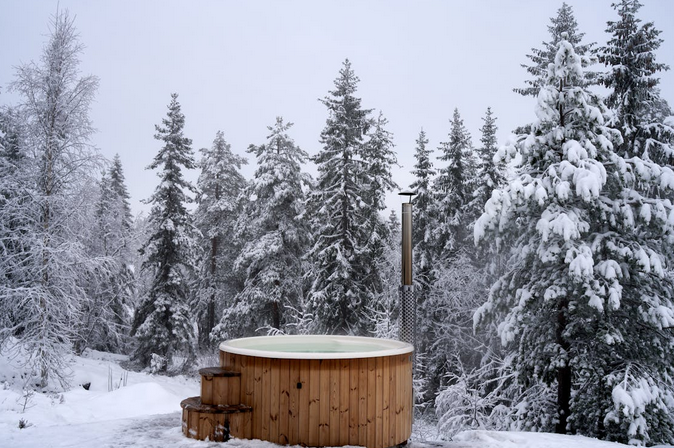
Traditional Foam Covers for Everyday Durability
Foam covers are the classic choice for most hot tub owners. They help maintain heat and keep out leaves, dust, and the occasional rogue critter. Their insulation makes them suitable for colder climates, and the price point is typically manageable. Many people appreciate the balance of strength and simplicity. These covers come in various thickness levels. Thicker models lock in heat better, though they weigh more. Over time, foam covers can absorb moisture, but proper care slows that process.
Hard Covers for Tougher Weather and Extra Security
Hard covers give you an added layer of protection. They stand up well against heavy snow, fallen branches, and unexpected backyard accidents. If you have energetic pets, these covers can help keep them away from the water. They’re also appreciated by families who want an extra safety measure. This option tends to be pricier, but it offers strong long-term value. Hard covers resist sagging better than softer types. They also provide a crisp, polished look that blends nicely with modern backyard setups. The weight can be a challenge, but a lift system solves that for most people.
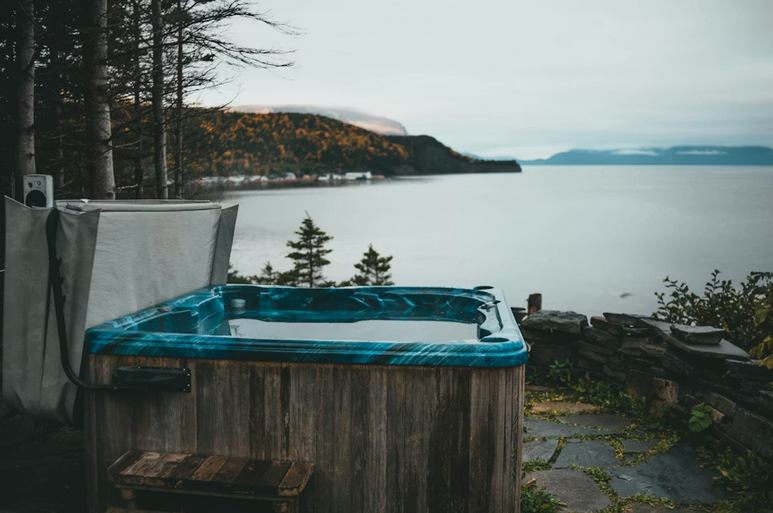
Soft Vinyl Covers for Quick, Lightweight Use
Soft vinyl covers appeal to homeowners who want something easy to remove in seconds. They work well for warm climates where insulation isn’t the top priority. These covers act as a simple shield against debris and insects. They’re especially popular for above-ground tubs that are often used. Vinyl covers require regular cleaning to stay in good shape. They’re not the strongest option, but their lightness feels convenient. If you prefer something you can manage with one hand, this might be your match. Just be sure it fits snugly so it doesn’t flap around during windy evenings.
Roll-up Covers for Fast Operation
Roll-up covers are efficient and surprisingly fun to use. With a quick twist, the material rolls neatly to one side, making access fast. They’re ideal for people who use their tub frequently and dislike heavy lifting. The mechanism keeps things smooth and tidy. These covers tend to be slim and uncomplicated. They don’t have the insulation power of foam or hard covers, but for many hot-tubbing habits, that trade-off is fine. They shine in mild climates where heat loss isn’t a major hurdle. Their sleek design also makes storage effortless.
Choosing a hot tub cover doesn’t have to feel overwhelming. Focus on how often you use your spa, your climate, and how much effort you want to put in. Once those pieces fall into place, the right cover becomes much easier to spot. Then you can sit back, relax, and enjoy your backyard retreat without extra hassle.
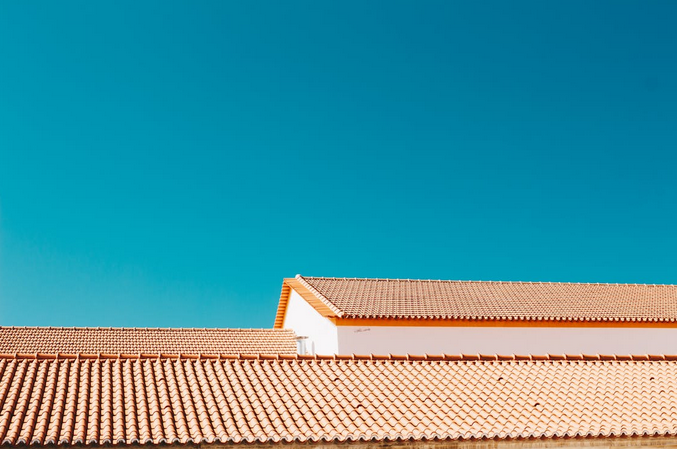
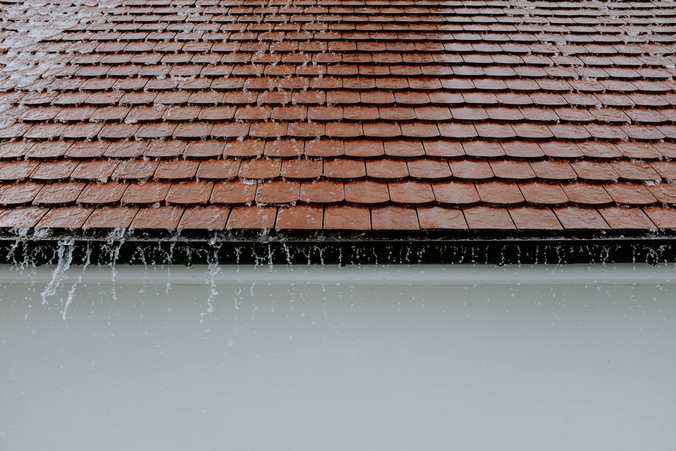
Choosing the suitable roofing material for your home can feel overwhelming with so many options available. While traditional choices like asphalt shingles, metal, and tiles are common, rubber roofing has emerged as a popular alternative with unique advantages. If you’re trying to decide between rubber roofing and more conventional materials, this guide from the best residential roofing company will help you weigh the pros and cons to make an informed decision.
Understanding Rubber Roofing
Rubber roofing, often made from a synthetic material called EPDM (ethylene propylene diene terpolymer), is a durable, flexible, and weather-resistant option. It’s typically available in rolls or sheets, which makes it ideal for flat or low-sloped roofs. Rubber roofing has been used in commercial buildings for years but is becoming increasingly popular in residential settings.
Traditional Roofing Materials
Let’s briefly touch on some of the traditional roofing materials:
Asphalt Shingles: The most common roofing material, asphalt shingles are affordable, easy to install, and come in various colors and styles.
Metal Roofing: Known for its longevity and durability, metal roofing is resistant to extreme weather and is often made from aluminum, steel, or copper.
Clay or Concrete Tiles: These heavy-duty tiles are incredibly durable and offer a distinct aesthetic, often associated with Mediterranean or Southwestern-style homes.
Wood Shingles or Shakes: Made from cedar, redwood, or other types of wood, these shingles offer a natural look but require more maintenance to prevent issues like rot or insect damage.
Durability: How Does Rubber Roofing Compare?
Durability is a key factor when choosing a roofing material. Rubber roofing is highly durable, with a lifespan of 30 to 50 years when properly maintained. It’s resistant to extreme weather conditions, including heavy rain, snow, and UV rays, making it an excellent choice for areas with diverse climates.
In comparison:
Asphalt Shingles typically last 15 to 30 years. However, they can be damaged by high winds and may need more frequent repairs.
Metal Roofing offers excellent durability and a lifespan of 40 to 70 years. It’s resistant to fire, rot, and insect damage but can be noisy during heavy rain or hailstorms.
Clay or Concrete Tiles are highly durable and have a lifespan of 50 to 100 years. However, they are heavy and may require additional structural support.
Wood Shingles or Shakes: Generally last 20 to 40 years but require regular maintenance to protect against moisture and pests.
Cost Considerations
Cost is another critical aspect to consider. Rubber roofing is generally more expensive than asphalt shingles but less costly than metal or tile roofing. The initial investment may be higher, but the long-term savings from reduced maintenance and repairs can make rubber roofing a cost-effective option.
Here’s a general comparison:
Asphalt Shingles: $3.50 to $5.50 per square foot installed.
Rubber Roofing: $6.00 to $10.00 per square foot installed.
Metal Roofing: $7.00 to $12.00 per square foot installed.
Clay or Concrete Tiles: $10.00 to $20.00 per square foot installed.
Wood Shingles or Shakes: $6.50 to $11.00 per square foot installed.
Environmental Impact
For those concerned about sustainability, rubber roofing stands out as an eco-friendly choice. Most rubber roofing is made from recycled materials. At the end of its lifespan, it can be recycled again. It also offers excellent insulation properties, which can help reduce energy consumption in your home.
In comparison:
Asphalt Shingles: Not exceptionally eco-friendly. They’re petroleum-based and difficult to recycle, contributing to landfill waste.
Metal Roofing: Highly recyclable and energy-efficient, making it a good option for eco-conscious homeowners.
Clay or Concrete Tiles: Made from natural materials and can be recycled, their production process is energy-intensive.
Wood Shingles or Shakes: These are renewable resources, but the treatment process to make them weather-resistant can involve chemicals.
Choosing the right roofing material depends on your specific needs, budget, and aesthetic preferences. Rubber roofing offers excellent durability, energy efficiency, and environmental benefits, making it a strong contender for many homeowners. However, traditional materials like asphalt shingles, metal, and clay tiles have unique advantages.
If you’re considering renting a storage unit, it’s important to know the top problems with storage units. Many people don’t think about the potential issues until they’re already dealing with them; by then, it can be too late. When to get a storage unit? When you’re running out of space or need to declutter your home, it might be time to get a storage unit. This blog post will discuss some of the most common problems people experience with storage units. We’ll also provide tips on how to avoid these problems altogether.
Humidity/Water Damage
One of the most common problems people experience with storage units is humidity or water damage. This can happen for several reasons, such as if the unit is not properly sealed or if there is a leak in the unit. If you live in an area with high humidity, it’s important to take extra precautions to prevent this from happening. You can do this by using a dehumidifier in your unit or by keeping your belongings in airtight containers. If you do experience water damage, it’s important to act quickly. The longer you wait, the more damage will be done.
Lack of Access to Stored Materials
One of the top problems with storage units is that you may not have easy access to stored materials when you need them. For example, if you’re storing seasonal items, you may only be able to get to them a few times a year. And if you’re storing valuable or sentimental items, you may not want to risk taking them out of storage too often. The cost of renting a storage unit can add up over time, and if you’re storing valuable items, you may need to purchase insurance to protect them.
Transporting Stuff to Storage Units
One of the most difficult and time-consuming tasks when it comes to storage units is transporting all of your stuff there in the first place. This can be an overwhelming process if you have many things to store. You may need to rent a truck or trailer and spend hours loading and unloading everything. And if you live in a high-rise apartment or condo, you may have to lug everything down several flights of stairs. Another problem with transporting your stuff to a storage unit is that it can be difficult to know how to pack everything so that it will fit and be well-protected.
You don’t want your belongings to get damaged in transit, so it’s important to take the time to pack everything carefully. Overall, there are a few common problems that people experience with storage units. These include humidity/water damage, lack of access to stored materials, and transporting stuff to the storage unit. However, you can avoid these problems by taking precautions and using the right tips.

 Once you look at three or four apartments, they all begin to look similar, and it can be hard to remember that you have these characteristics. If you are trying to find the perfect rental unit, bring a notebook and pencil with you so that you are in one place to take notes on each one. Shop in a certain region of town, work in a certain location or value certain activities.
 In case you don’t have a washer and dryer, for example, you may decide to look for an on-site laundry facility. If you currently have these things, getting the total price of clothes included in your monthly rent will likely be nothing more than a waste of money. Video providers are just another factor to consider. The main point is to have the ones with the features you need without paying for the ones you don’t need. But keep in mind that they will increase your previous rent payment.
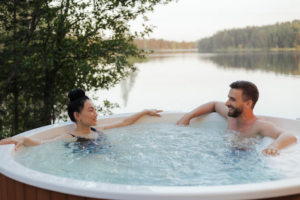


 One of the most common problems people experience with storage units is humidity or water damage. This can happen for several reasons, such as if the unit is not properly sealed or if there is a leak in the unit. If you live in an area with high humidity, it’s important to take extra precautions to prevent this from happening. You can do this by using a dehumidifier in your unit or by keeping your belongings in airtight containers. If you do experience water damage, it’s important to act quickly. The longer you wait, the more damage will be done.
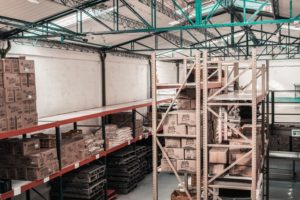 One of the most difficult and time-consuming tasks when it comes to storage units is transporting all of your stuff there in the first place. This can be an overwhelming process if you have many things to store. You may need to rent a truck or trailer and spend hours loading and unloading everything. And if you live in a high-rise apartment or condo, you may have to lug everything down several flights of stairs. Another problem with transporting your stuff to a storage unit is that it can be difficult to know how to pack everything so that it will fit and be well-protected.